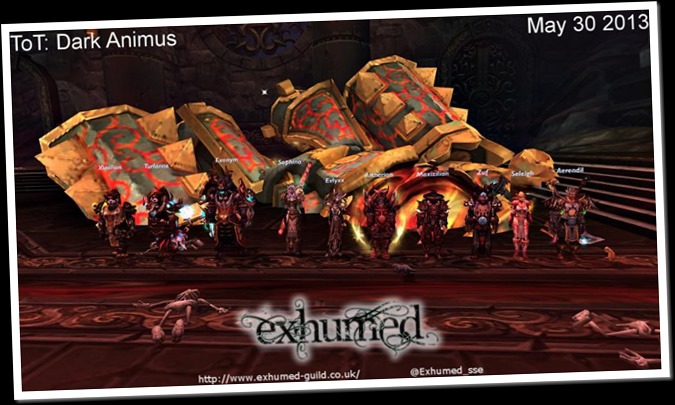
The Dark Animus encounter is a very different fight and seems very
chaotic as in addition to the boss there are a large number of adds
called golems and killing a golem causes the nearest inactive golem
(including the boss) to activate. This is because of Anima, the resource
that animates the golems and the boss.
- 25 Anima Golems (max 4 anima, 4 anima on pull);
- 8 Large Anima Golems (max 8 anima, 0 anima on pull);
- 2 Massive Anima Golems (max 36 anima, 0 anima on pull);
- 1 Dark Animus (max 100 anima, 0 anima on pull);
We need to balance killing enough golems to minimise damage while minimising the amount of Anima being transferred to the Dark Animus.
WTF is Anima?
Anima is the energy source of the golems, much like our blood. All types of golems, and the Dark Animus, have Anima pools of different sizes. When one golem is killed, its Anima automatically jumps to the nearest golem who has room in its Anima pool to accommodate the new Anima.
There is always 100 Anima, shared between the boss and the golems.
Anima Golems
There are 25 Anima Golems, these have an Anima pool of 4 and at the start of the fight their pool is full. Anima Golems melee their main aggro target, and they have a single ability, called Acceleration Link. When an Anima Golem is within 2 yards of another Anima Golem, they both receive a damage and attack speed incrase of 250%.
13 of the 25 Anima Golems are disabled these do not attack and cannot be killed and therefore the Dark Animus will start draining them when he becomes active.
Large Anima Golems
There are 8 Large Anima Golems, these have an Anima pool of 8, and they all start out with 0 Anima. When a Large Anima Golem receives 8 Anima, it becomes active, and it uses its only ability, Crimson Wake, a very damaging void zone that lasts for 30 seconds, and fixates on a random raid member, following them.
3 of the Large Anima Golems are disabled these do not attack and cannot be killed and therefore the Dark Animus will start draining them when he becomes active.
Massive Anima Golems
There are 2 Massive Anima Golems, these have an Anima pool of 36 and they all start out with 0 Anima. When a Massive Anima Golem receives any Anima, it becomes active. They have two abilities.
- Matter Swap: a dispellable 12 second debuff which when dispelled (or after 12 seconds) the victim has their position swapped with the raid member farthest away from them and damage equal to the victim's max HP is split between the two players, the of damage is dependant on the time remaining on the debuff;
- Explosive Slam: a frontal attack dealing damage to all players within 12 yards that causes them to take increased damage from future Explosive Slams;
Dark Animus
The Dark Animus has an Anima Pool of 100 and he starts out with 0 Anima. When the Dark Animus receives any Anima, it activates. The Dark Animus 2 main abilities and 3 others that activate at 10, 25 and 75 anima.
- Siphon Anima: every 6 seconds, he drains 1 Anima from any golems in the room that have Anima;
- Touch of the Animus: an undispellable DoT cast on a random raid member, which deals Fire damage every 4 seconds;
- Anima Ring: at 10 Anima he creates a ring of spheres around the tank, which closes in on the target. Coming in contact with a sphere consumes it, applying a stack of a debuff that increases damage taken from melee attacks by 50% for 15 seconds.
- Anima Font: at 25 Anima he casts this on a random player which causes AoE damage to allies in a small area around them.
- Interrupting Jolt: at 75 Anima he casts a raid wide AoE attack that also interupts spellcasting AND silences 9 seconds.
Before activating the Dark Animus, you want to have a Massive Anima Golem at 36 Anima so it takes the Dark Animus 36 casts of Siphon Anima (3 minutes 36 seconds) to drain all the Anima from that golem, and reach 100 Anima.
The optimal activation is to bring one Massive Anima Golem to 36 Anima, then kill an Anima Golem next to the Dark Animus to activate the boss with 4 Anima.
- After 24 seconds, the Dark Animus will be at 68 Anima and all adds except the Massive Anima Golem will be deactivated.
- After 66 seconds, the Dark Animus will be at 75 Anima and he will gain Interrupting Jolt.
- After 216 seconds, the Dark Animus will have drained all the Anima and he will wipe the raid.
This strategy ignores the Large Golems and their annoying Crimson Wake ability which greatly simplifies fight.
At the pull assign a golem to all players (2 to each tank) and stay spread apart.
The Anima Golems need to be killed slowly in order so their Anima jumps to a Massive Anima Golem which will need to be tanked when it activates.
Tank the Massive Anima Golem in the middle of the room killing the Anima Golems near it sso that it fills completely once at this is full the Dark Animus needs to be activated.
Use DPS cooldowns and burn down the Dark Animus while tanking the the Massive Anima Golem.
Dispel Matter Swap after 5 or 6 seconds so the damage is shared equally between the two players. Dispelling too early would cause the victim to take most of the damage, while dispelling too late would cause the victims partner to take most of the damage.
Avoid being hit by Explosive Slam (the affected area on the ground is clearly indicated).
Make sure the tank affected by Anima Ring has a path cleared by a melee DPS so the tank can run out of the ring.
If you are targeted by Anima Font spread out from other raiders.
Do not to cast when Interrupting Jolt is being cast.
DPS Priority
/dance with your Anima Golem until it needs to be killed to fill up the Massive Anima Golem and the do nothing until the boss is activated. Once the boss is activated all DPS focus is on the Dark Animus as we need the Massive Anima Golem alive to give us maximum time.
Healing Concerns
There is nothing overly taxing for healers during the fight, the biggest issue is range on the pull so healers should be evenly spread around the room and for this reason it is safer to run with 3 healers.
However, healers must ensure that they dispel Atter Swap after 5 or 6 seconds and also that they do not get silenced by Interupting Jolt.


0 comments: